No products in the cart.
FLIR T840 Thermal Camera: A Practical Guide to Electrical Inspection
Tech Highlights4 min read
Find the anomaly. Then verify it.
A practical field guide to repeatable electrical inspections with the FLIR T840, from the first scan to a documented follow-up.
Built for: utility, plant and thermography teams that need to inspect equipment consistently.
- 464 × 348 infrared resolution
- Viewfinder and 180° rotating optical block
- This Asia Multimeter listing specifies a 14° lens; confirm the supplied configuration
Thermal imaging is a fast way to compare surface temperature patterns across electrical equipment. A warmer connection is a reason to investigate, not a diagnosis by itself. Sound decisions come from comparing like with like, understanding the inspection conditions and recording what changed.
Start with the inspection question
Before aiming the camera, define what the route is meant to check: a switchboard, a transformer connection, a motor circuit or another known asset group. Consistent targets make later comparisons more useful. Follow your organization’s electrical-safety procedures, approach limits and PPE requirements. A thermal camera does not make it safe to open equipment or approach an energized hazard.
A repeatable inspection route
- Set the baseline. Record the asset, operating state and relevant ambient conditions. If possible, use the same route and viewing positions on each inspection.
- Scan comparable components. Compare similar phases, connections or devices under reasonably similar load and environmental conditions. A difference between peers is often more useful than an isolated temperature.
- Check the context. Confirm focus, distance, angle and the target area. Reflections, surface emissivity, obstructions and changing load can affect the apparent thermal pattern.
- Investigate and document. Recheck a suspicious area, capture the image and note the asset, location, lens, conditions and follow-up action. Escalate findings using your site’s maintenance process.
What the T840 brings to the route
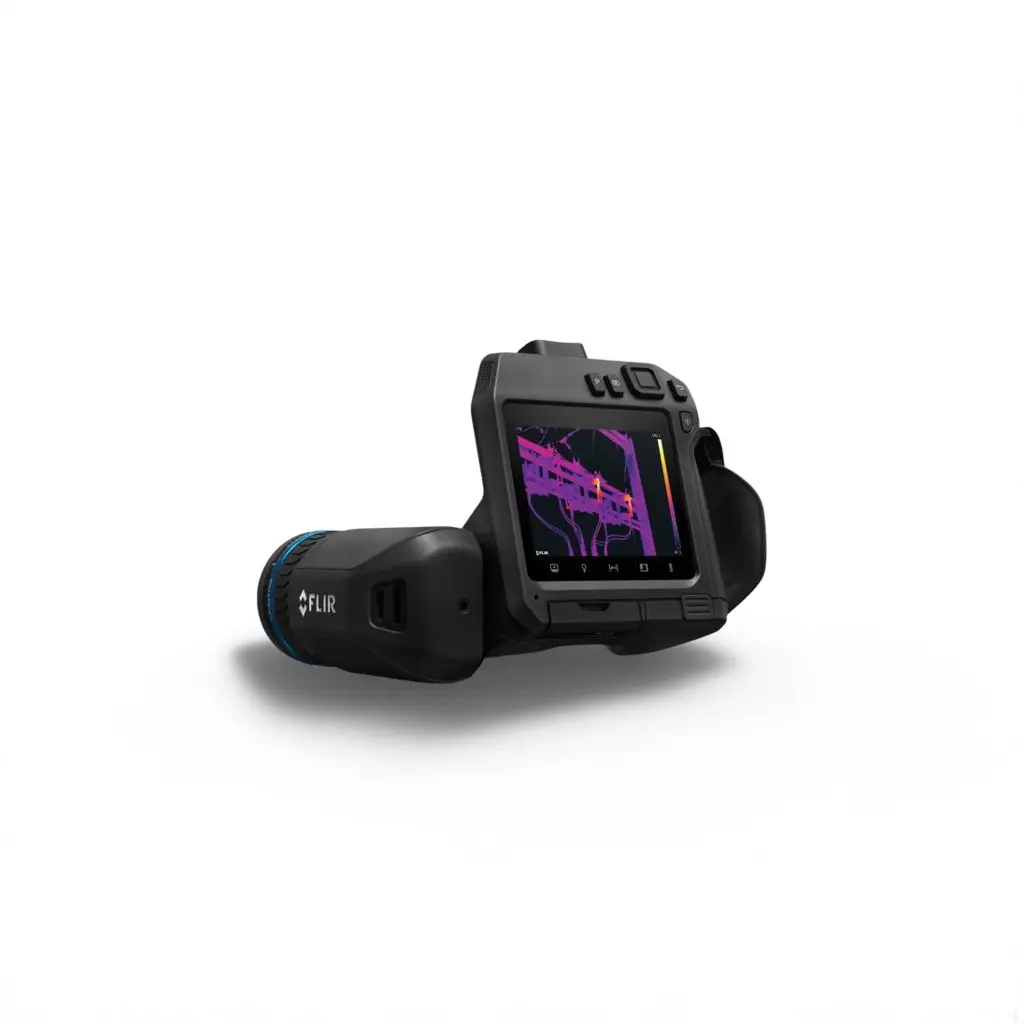
FLIR lists 464 × 348 infrared resolution, an integrated viewfinder and a 4-inch touchscreen for the T840. Its optical block rotates 180°, which can help when framing equipment in awkward positions. These features support a more comfortable inspection workflow; they do not remove the need for correct technique or a qualified interpretation.
The manufacturer’s stated accuracy is ±2°C or ±2% of reading. Thermal sensitivity is lens-dependent: FLIR specifies less than 50 mK at 30°C with a 14° lens, less than 40 mK with a 24° lens and less than 30 mK with a 42° lens. Sensitivity describes the camera’s ability to distinguish small temperature differences; it is not the same as measurement accuracy.
Choose the lens for the scene
Field of view determines how much of the scene fits in the image. A wider lens helps capture a larger area from the same position. A narrower lens frames a smaller target more tightly, which can be useful at greater distances. Working distance, target size, focus range and the exact camera package all matter.
- 24° or 42°: consider these for general electrical surveys where you need to balance scene coverage and target detail.
- 14°: a tighter view for targets that occupy a smaller part of the scene. The product page currently identifies a 14° lens.
- 6° or 80°: specialist telephoto or very wide options. FLIR lists a 5 m minimum focus distance for the 6° lens, so check the full lens specifications and expected working distance before selecting it.
Do not select a lens from its angle alone. Confirm the exact T840 part number, lens supplied, focus distance, measurement range, accessories and condition with the seller. Configuration and included items can vary.
Read a hot spot in context
A thermal image shows emitted and reflected infrared energy that the camera converts into an apparent surface temperature. Shiny metal, reflections, different coatings and viewing angles can mislead a quick reading. Compare similar surfaces under similar conditions, and use an appropriate measurement method for the material and task.
A single warm point does not prove a component is failing. Check whether the load was representative, whether neighboring components are comparable and whether the anomaly repeats. Use the camera to flag and document areas for further assessment, then confirm the cause with the proper diagnostic process.
Build a record that is useful next time
A strong report lets another technician return to the same asset and understand the comparison. Keep a consistent asset label and route, retain the thermal image with its visual reference where available, and note the inspection conditions and next action. Trend comparable observations over time rather than treating one image as a complete condition assessment.
Is the FLIR T840 right for your inspection work?
The T840 is designed for professional utility and thermography inspections where a viewfinder, rotating optical block and interchangeable lens choices are useful. The right fit depends on target size, access, working distance, measurement requirements and reporting workflow. If your work is mostly close-range or wide-area screening, compare the lens options against your actual route before choosing a package.
Before you order
Check the current FLIR T840 product listing for the stated 14° lens configuration, then confirm the exact model and included accessories with Asia Multimeter. Browse the thermal imaging category if you are comparing cameras for a different inspection route.
Plan the camera around the inspection
Review the FLIR T840 listing and verify the lens, model number and included items for the unit you need.
Technical references
Specifications are subject to change. Confirm the exact configuration and current availability with the supplier before ordering.
Leave a comment